QualityArmory Plugin (1.19.1, 1.18.2) – Bukkit, Spigot, Paper
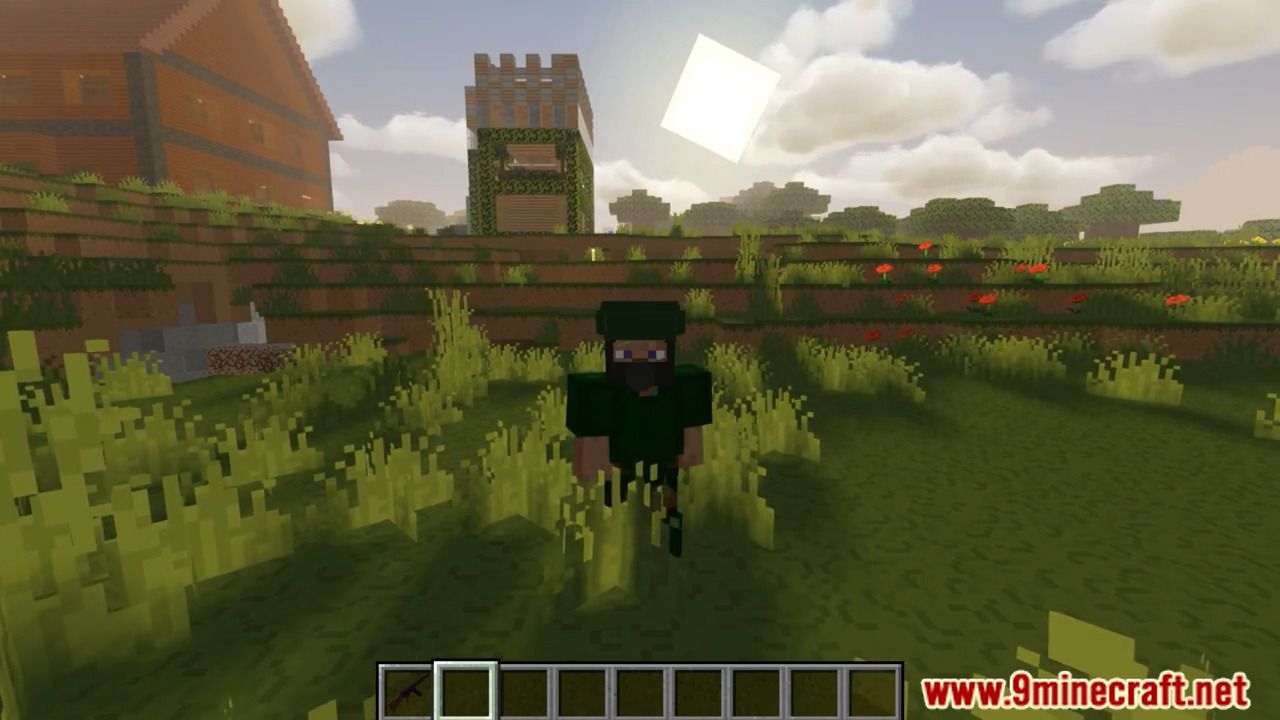
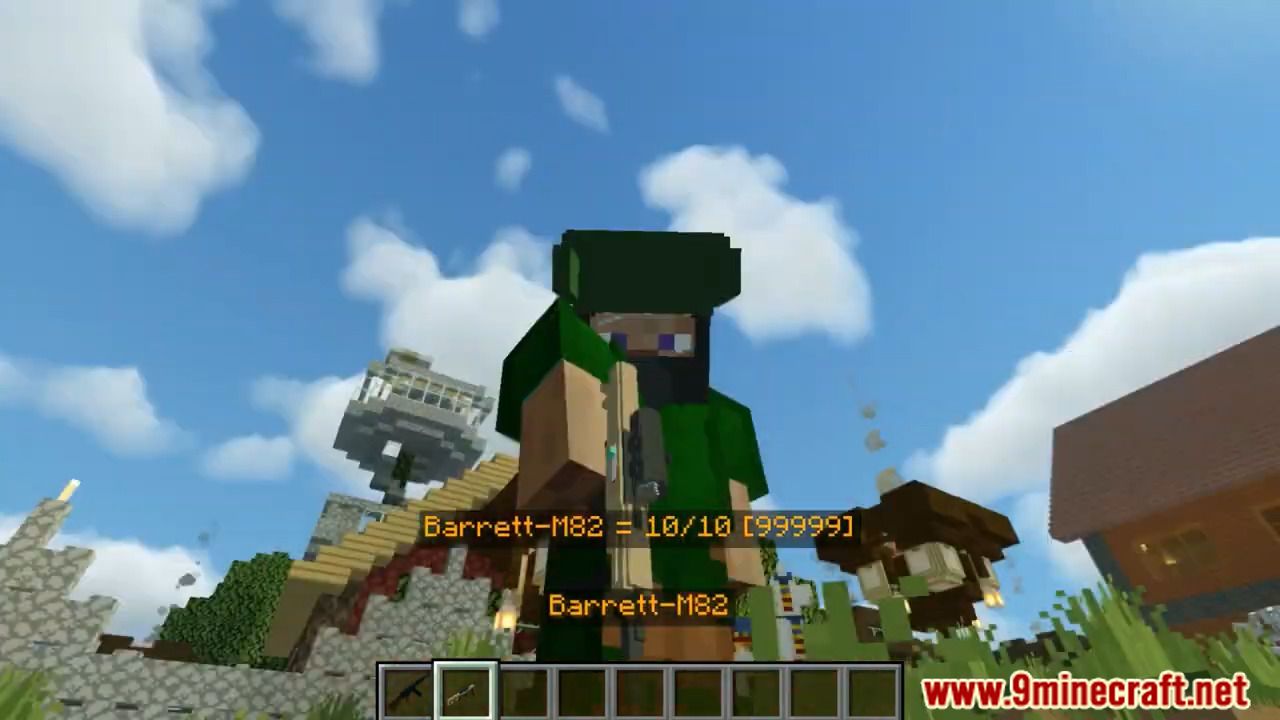
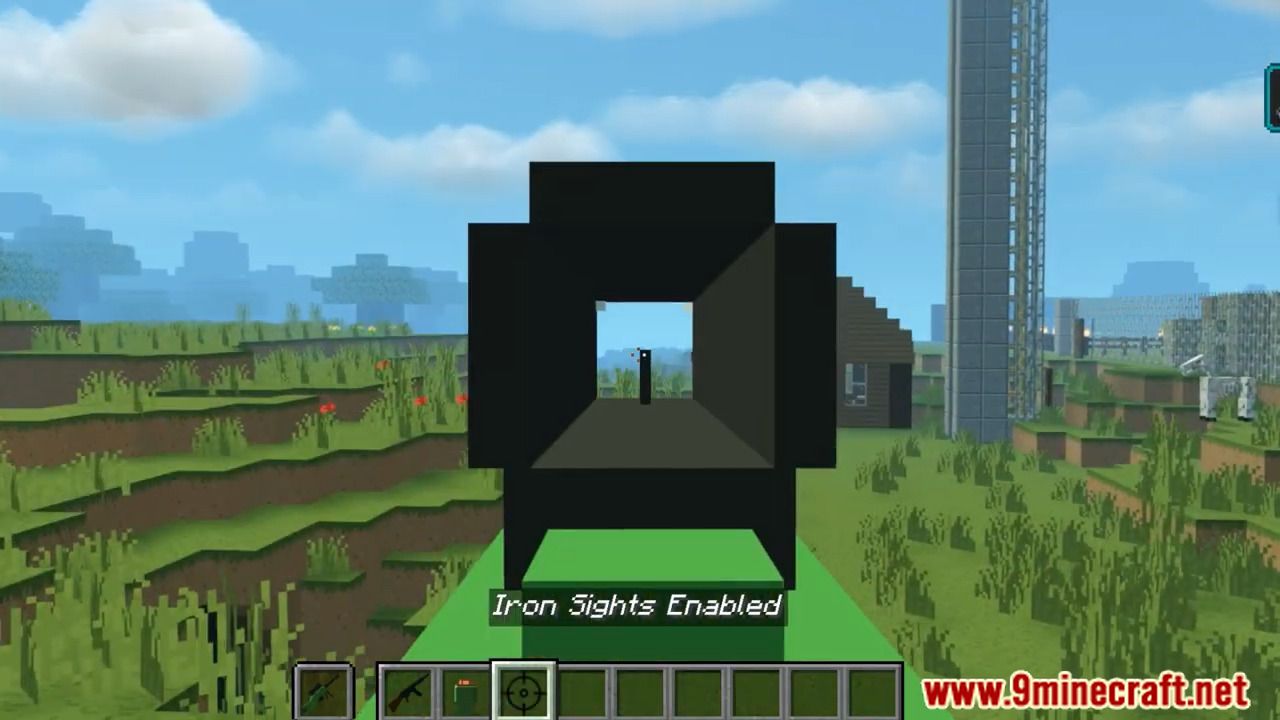
QualityArmory Plugin (1.19.1, 1.18.2) is meant to be a replacement for Crackshot, as its last released update was for 1.19.1. What this plugin aims to do is add guns into Minecraft without affecting the base game. All 3D gun models are loaded onto select items and data values in such a way as to make sure you should never see those textures unless you are given a gun.

Features:
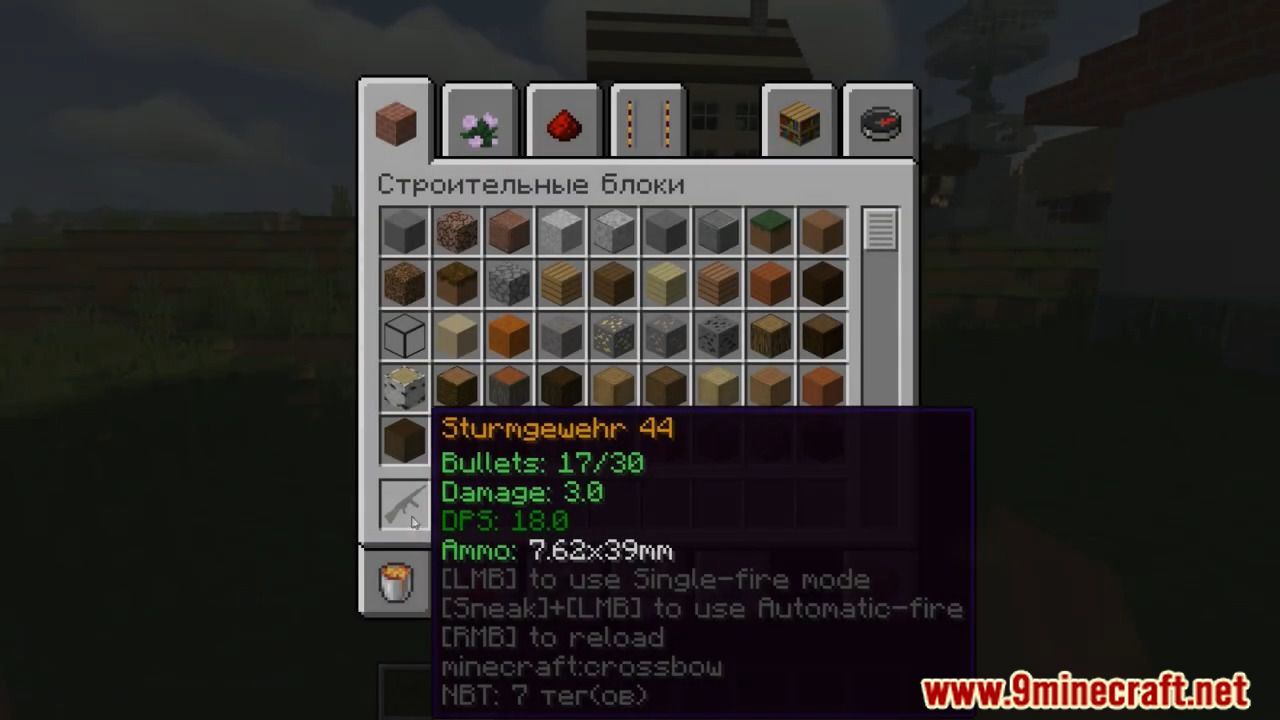
- Adds new guns, such as P30, M16, M40, MP5, AK-47, Remmington, HeneryRifle, an RPG, and many more.
- Does not replace existing items in the game.
- Built-in resoucepack distributor; players will see the guns without you needing to change your server resoucepack.
- Built-in auto-updater, allowing for improvements and new guns to be synched with the server on reloads.
- Includes an API to allow other plugins to add guns
Conflicts:
There is a known conflict with EssentialsX, as it has the value to make players invulnerable after teleporting. However, it also stops damage for players who get shot at. To fix this, change teleport_vulnerability from 4 to 0 in the EssentialsX config.
Commands:
- /QA give , gives the player a gun if they have permission “qualityarmory.give”
- /QA listItemIds, prints the materials and data for all guns.
- /QA giveAmmo , gives the player a stack of ammo if they have permission “qualityarmory.give”
- /QA craft, gives the player a gun if they have permission “qualityarmory.craft”
Creating custom guns:
Creating custom guns is as easy as Crackshot. To learn how to create new guns, visit the Wiki HERE.
Permissions:
- qualityarmory.*
- Inherits qualityarmory.admin
- qualityarmory.admin
- qualityarmory.give
- qualityarmory.create
- qualityarmory.reload
- qualityarmory.createnewitem
- qualityarmory.getmaterialused
- qualityarmory.debugmessages
- qualityarmory.getopengunslot
- Inherits quailityarmory.default
- qualityarmory.default
- qualityarmory.craft
- qualityarmory.shop
- qualityarmory.usegun
This plugin does update automatically:
This plugin checks for updates and will download updates. If you do not want this plugin to automatically update, all you need to do is edit one line in the “config.yml” file. Just change the one variable in there to false.
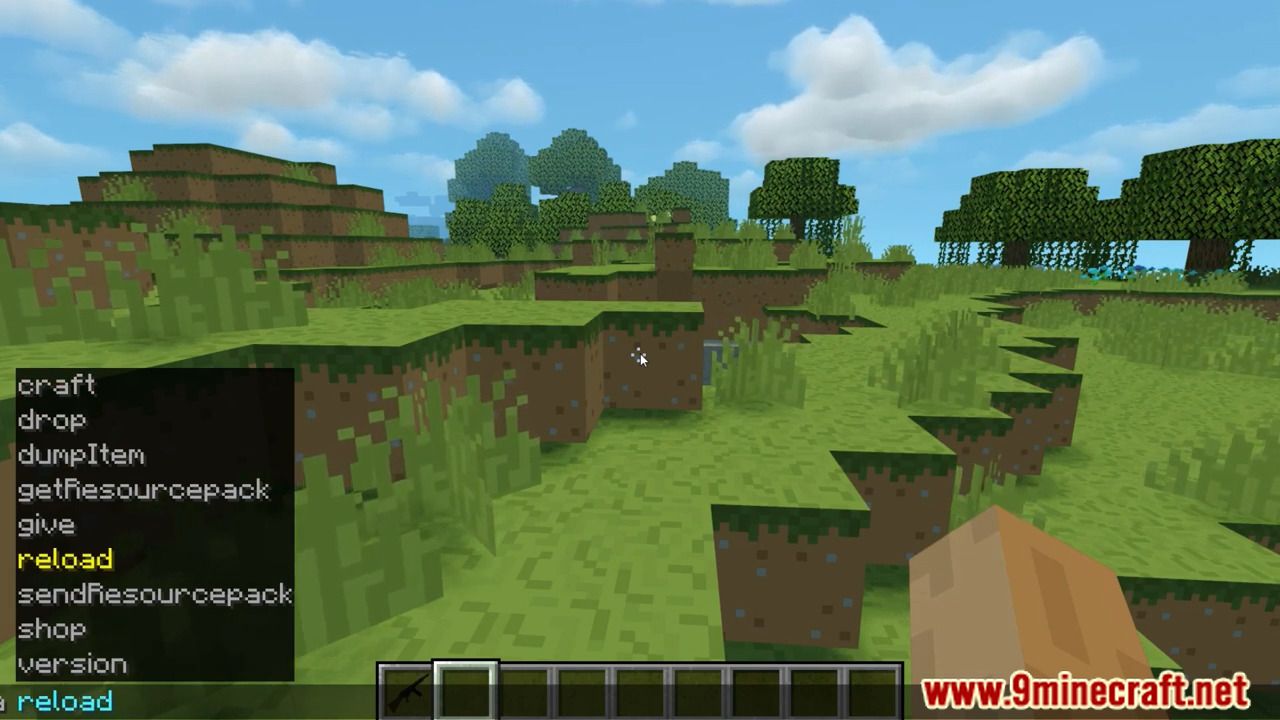
Screenshots:
How to install:
- Download a plugin of your choice.
- Place the .jar and any other files in your plugins directory.
- Run the server and wait for it to fully load.
- Type stop in your Minecraft server console to bring the server to a clean stop.
- Run the server.
- All done! Your plugin should be installed and ready to be used.
